Day 2 is here and guys, it was ROUGH… For more than one reason. At the end of the day, I’m so happy I finished the job and can show you how to remove nailed down hardwood flooring.
But let’s start from the beginning. I came into this project having a pretty good sense of how to remove the wood. As part of the kitchen reno, I had to pull up a section of the hardwood that is now where our kitchen peninsula is located. So, all in all, I had a pretty good idea of what I was getting myself into.
There are a few different ways hardwood floors can be installed:
- The wood can be glued down
- The wood can be nailed down
- Or you can have what is called a floating floor where the pieces are locked in together and stay in place due to the weight of any object on it and simply by sheer mass of the floor itself.
Glued down hardwood is definitely the most difficult to demo. Luckily for me, we had a nailed down floor which is labor intensive to remove, but in the grand scheme of things, fairly simple.
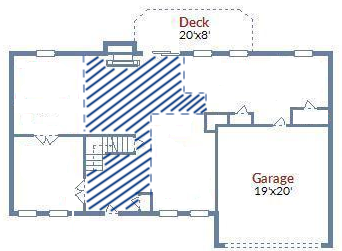
The hardwood runs from the front entryway down what used to be a hallway to the living room. There’s a decent amount of wood, but nothing unmanageable.
What tools do I need to remove hardwood floors?
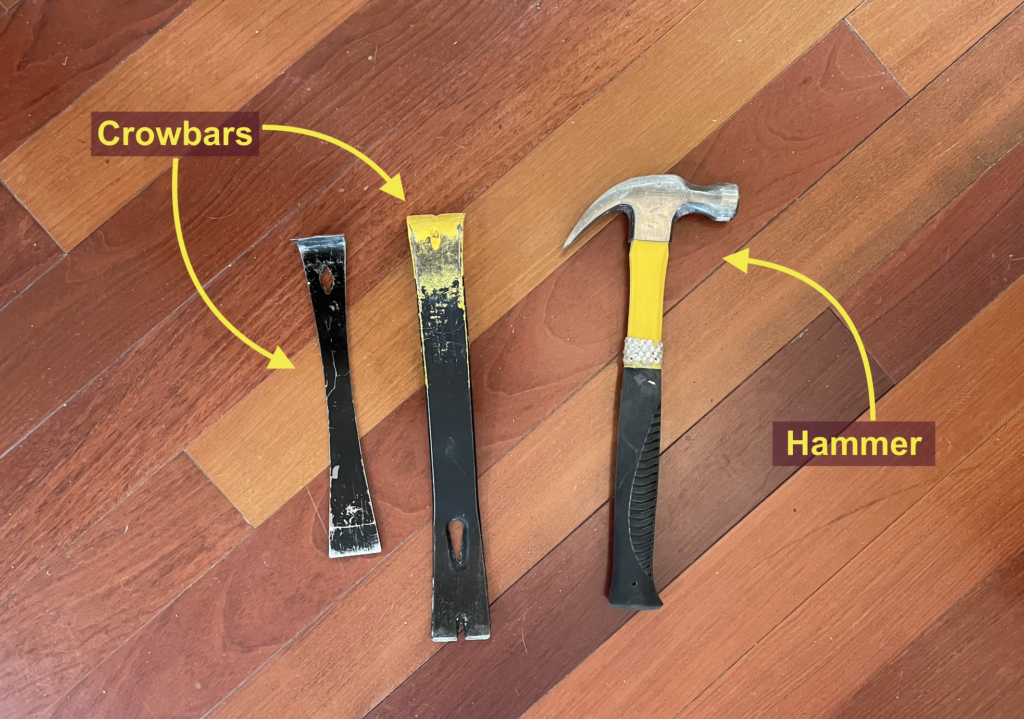
I came in expecting to only need two tools for this project and that ended up holding pretty true. All I used to remove the hardwood are:
- a few different size crowbars
- hammer
A big thing that I haven’t really mentioned but has been a total lifesaver are knee pads. We got them when we were installing our first hardwood floor and they have been used so many times since in everything from installing a tile floor to the linoleum/vinyl demo.
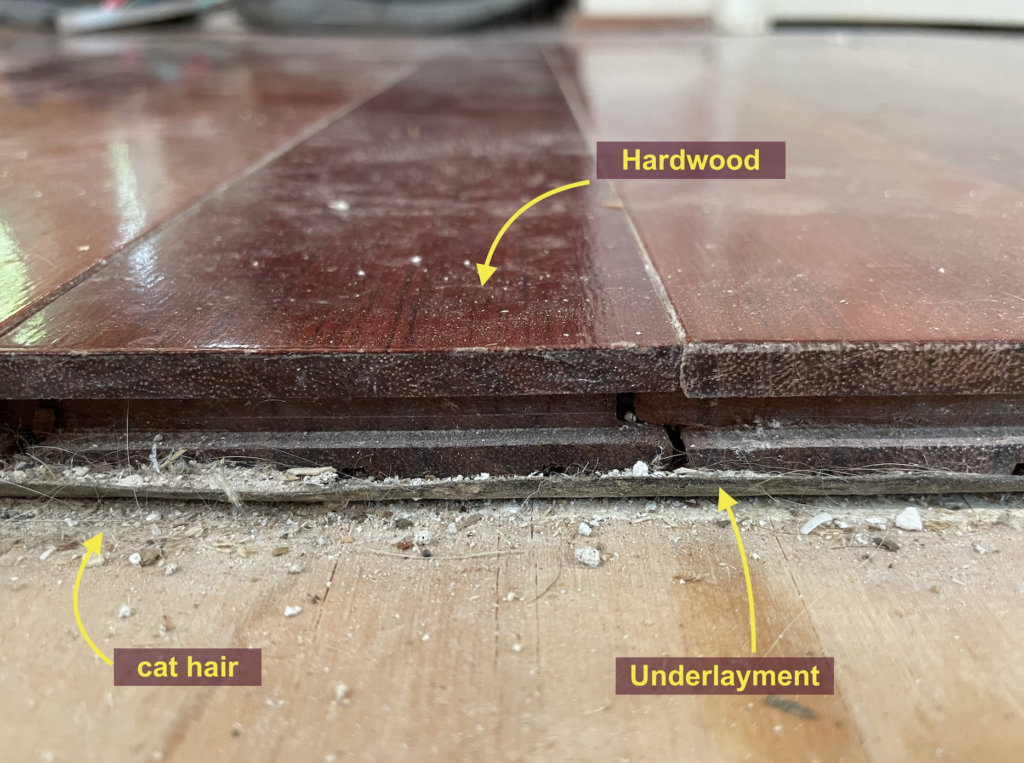 For our floors there are two layers: The wood itself and then an underlayment which is essentially a fabric-y like paper that helps sound absorption and insulation. Also, please ignore Buddy’s cat hair… how it found its way into the subfloor is beyond me.
Going in, my plan was to use the crowbar to pop the floorboards out and then go back and grab the underlayment at the end. And in the simplest of terms that is what happened… with a Hot Mess Express in between. Check out the video below to get the whole experience.
Now I know what you’re thinking, get to the good stuff, how to remove nailed down hardwood flooring?
Since all of the boards are slightly locked into each other, my plan was to be super strategic about how I remove them so I didn’t get stuck and require a saw like I did when I was taking out the pieces to fill the hole on the subfloor. The plan was to start from the front entryway and work my way to the back of the house (also if I did it the other way I would have to move the couch sooner so I’ll let you be the judge on my motivations).
Andddd that’s when everything went to hell.
I started in my first corner of the house and guys… I knew we had a slight ant problem… I didn’t know we were a hotel for them. This is what I found when I pulled up my first vent. They were SCATTERING. Up the
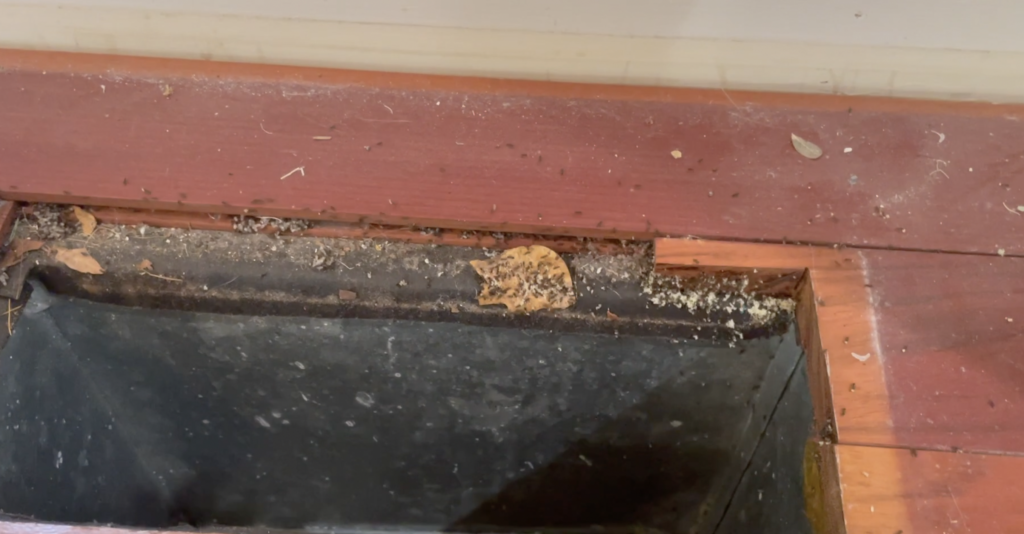
walls, down the vent and into every little crevice they could find. What’s that white stuff in the corner you ask? EGGS. They’re ANT EGGS.
Seriously… if you want to watch a grown woman completely lose all of her chill, check out the video.
I’m still not over this.
While Kevin handled the ant situation in the front, I regrouped and started in the back instead. The key to removing nailed in hardwood flooring is to wedge your crowbar under the wood by hammering the back of the crowbar into the gap and then using leverage to push the wood plank up. You will likely need to do this a few times down the plank before it completely pops free of the sub-flooring.
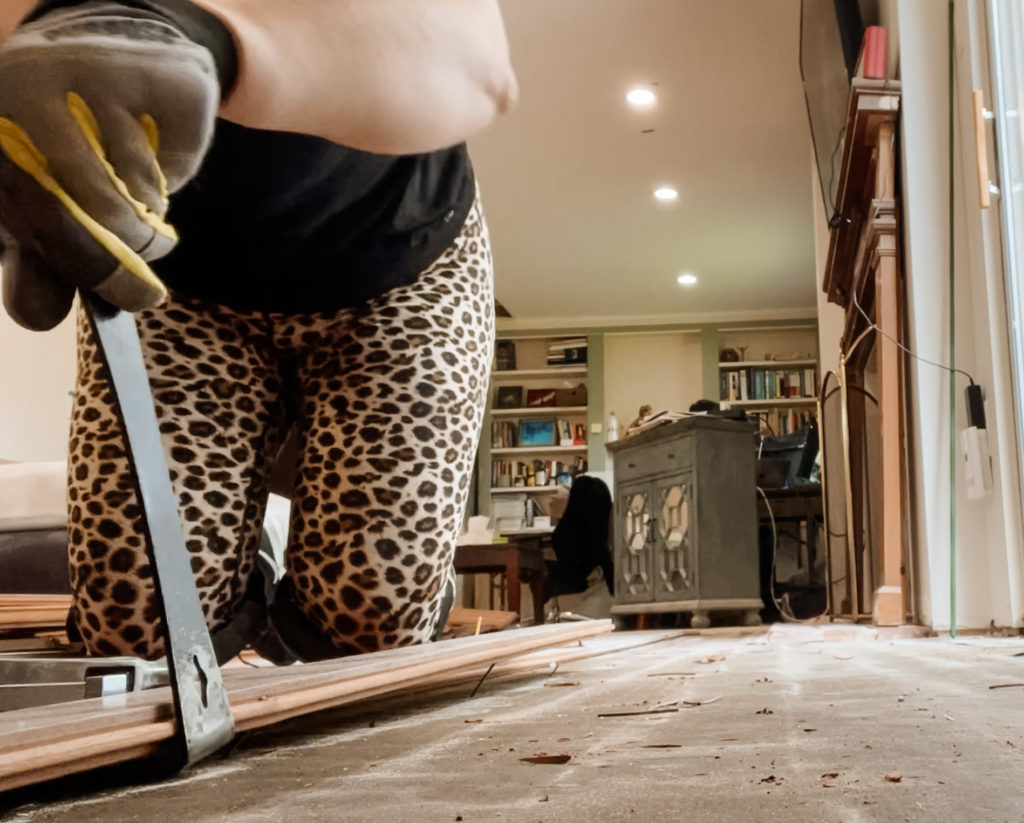
From there, the project was pretty smooth sailing. Once I got the first board out the rest popped out in easy succession.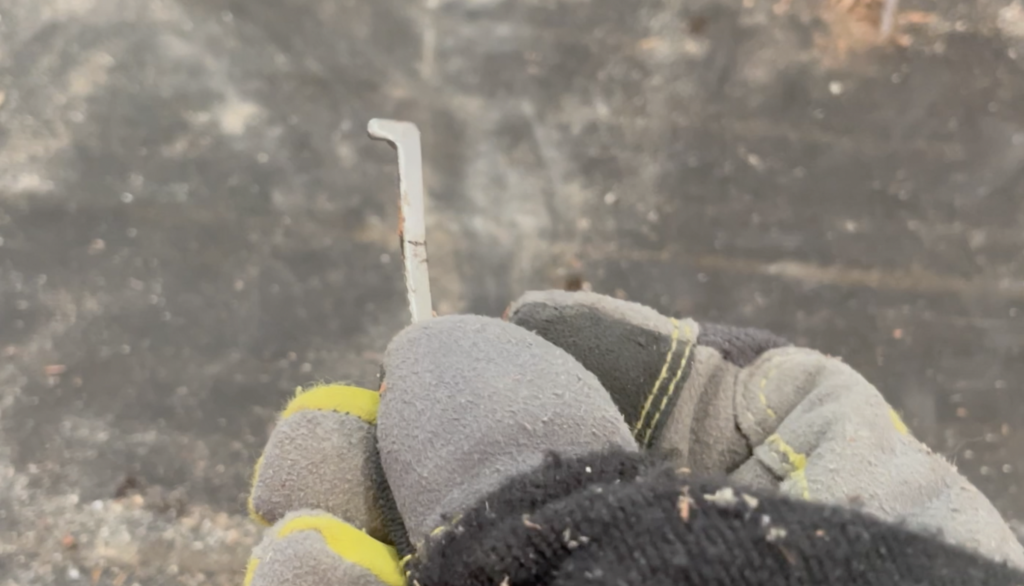
One thing that I did notice is that the nails like the one pictured here, often did not pop out when the board came up. It left us with little death traps all over the floor which you couldn’t really see until you tripped over them. I made it a habit to pop them out every time I saw them which was generally every after each row.
Once all of the boards and underlayment were pulled up and the room was cleared, there was still the slow 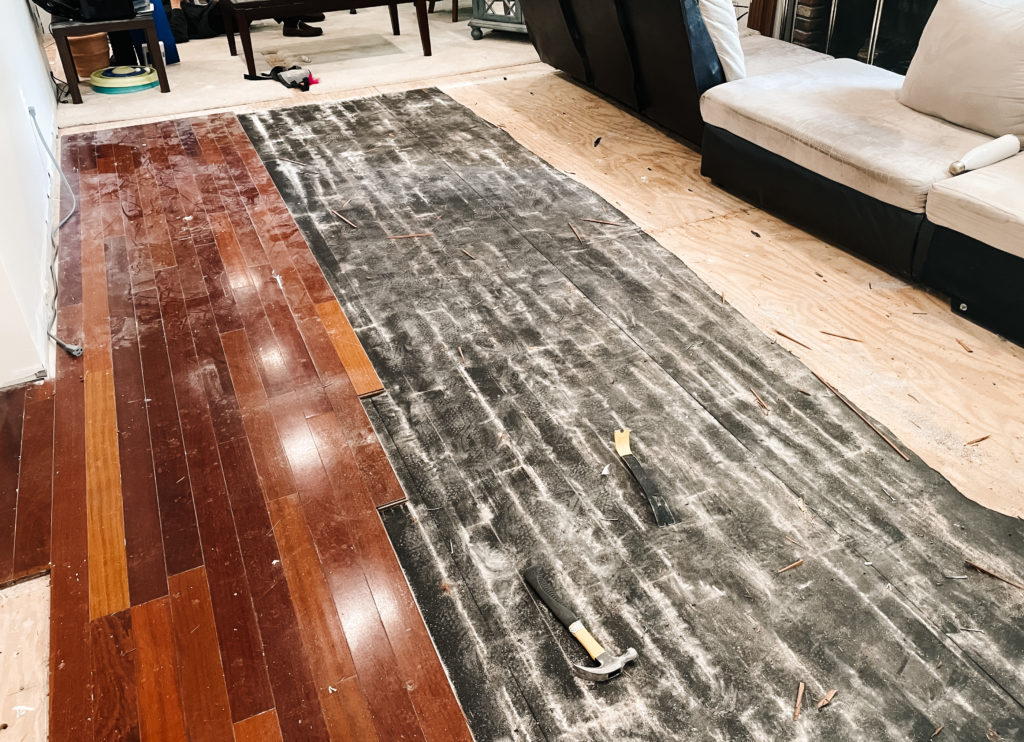 and painful process of crawling on my hands and knees scanning the floor and pulling out remaining nails from the wood as well as staples that were holding the underlayment down.
The good news is, I had planned two days to complete this project and ended up powering through and getting it done in just one. It was a ton of work and I cursed a lot more than I expected (not all of those boards just popped out easily). But that is it! Learning how to remove nailed down hardwood flooring wasn’t really all that hard, just exhausting!
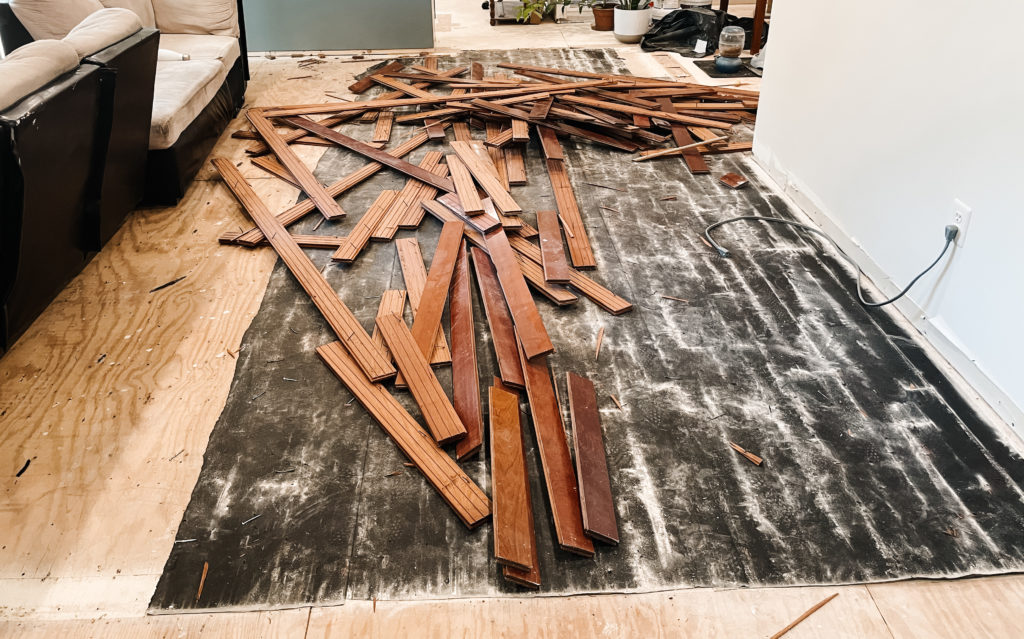
The bad news is, now I’ve got to carry all this wood out to the driveway.
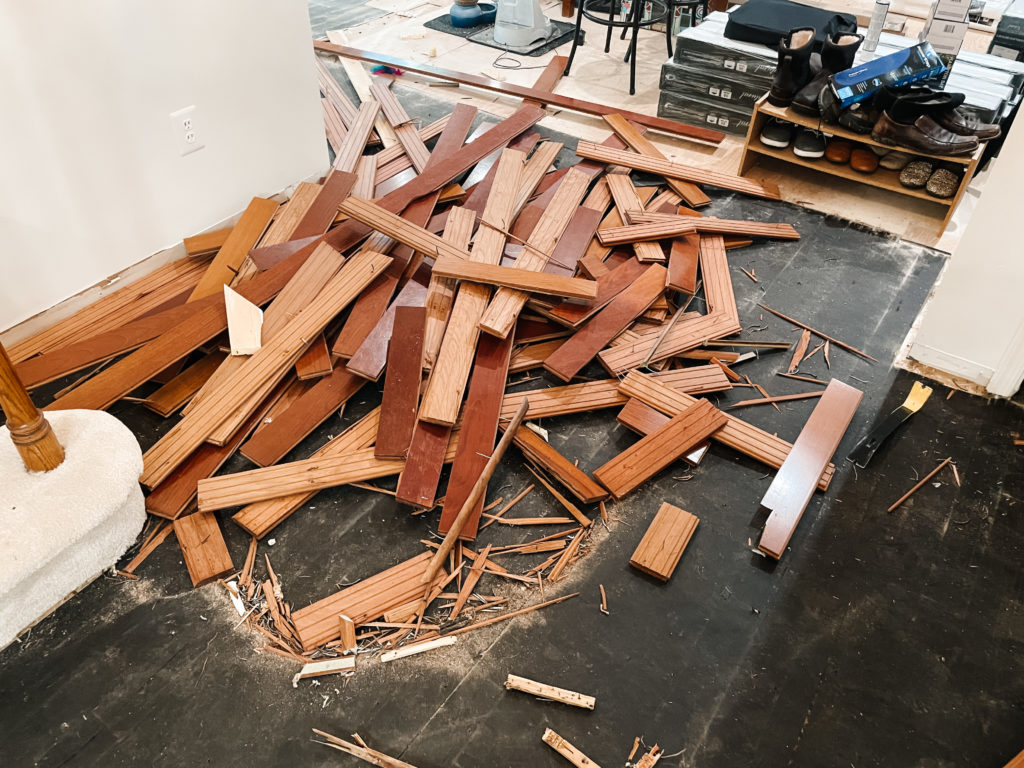
But we’re almost there! Only carpet left to go! Honestly, I can’t wait for it to be over. The new floors are settling in the house already and I think you guys are going to love them!


I loved your video! Very funny when you discovered your ant hotel. Question, was the wood salvageable? It looks so pretty!
Unfortunately, most of it wasn’t! The wood itself was pretty damaged and a lot of it got torn turning demo (that’s my fault!). We did give it to a company who can hopefully reuse it, but it was definitely on them to pull out all of those nails!