The problem with looking for the perfect mantel is there are so many factors to consider.
First, many antique mantels are extremely ornate and had too much going on for our tastes.
Secondly, our fireplace opening had already been created so we needed to find an already existing fireplace mantel antique that fit our size.
Third, at least in Maryland, mantels are expensive! Even on craigslist and in community thrift yards, they could easily cost $150-$250, which was way more than we were looking to spend. 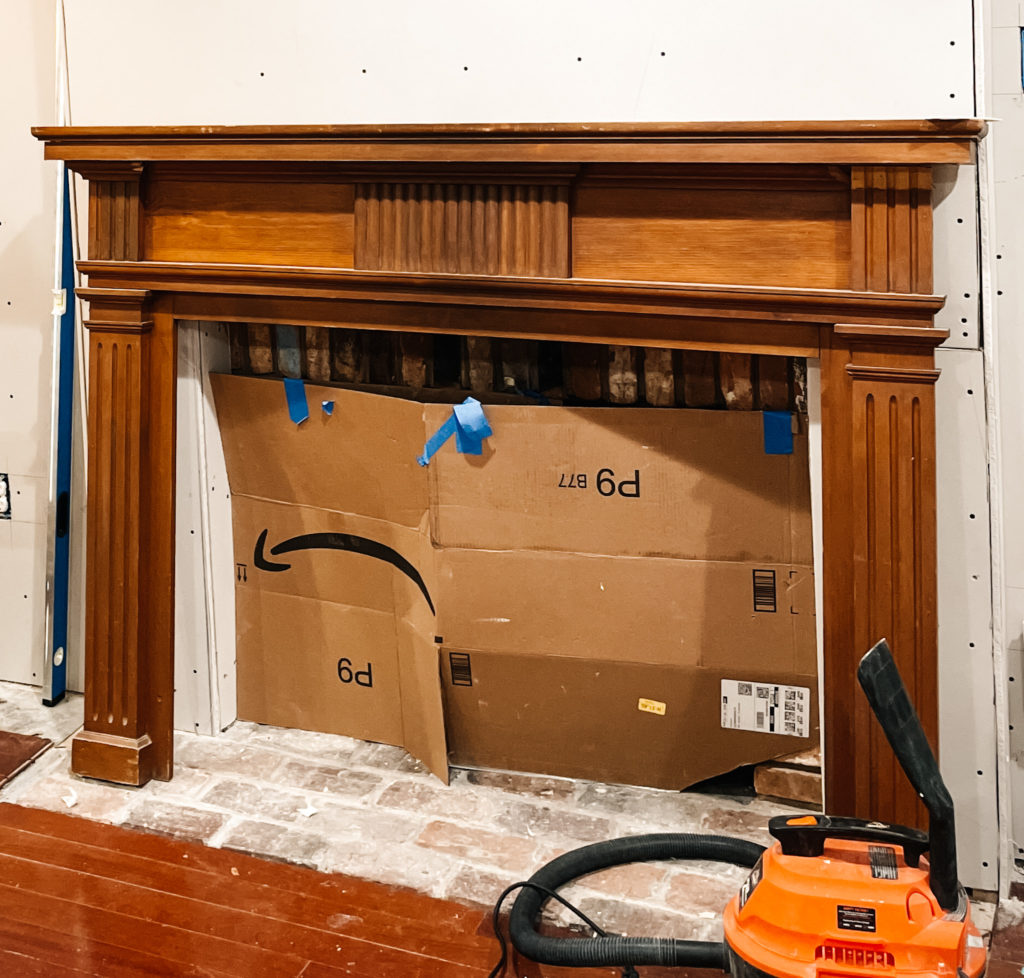
We struck gold when we were visiting my family in Pennsylvania one weekend and stopped by this small barn wood salvage yard. In the back of the property in a converted greenhouse filled with treasures was one singular mantel. It wasn’t too fancy, it was the perfect size and after the stores’ 50% off Father’s Day sale, was $24.
At first glance, the mantel appears to be in good shape and for the most part it was… but like any antique that’s been sitting in a greenhouse for who knows how long, it needed work. I started by cleaning the wood and sanding the whole thing down to get the first layer of stain off. That revealed a lot of dents and scratches; there were also a piece missing from the mantel that would need to be replaced.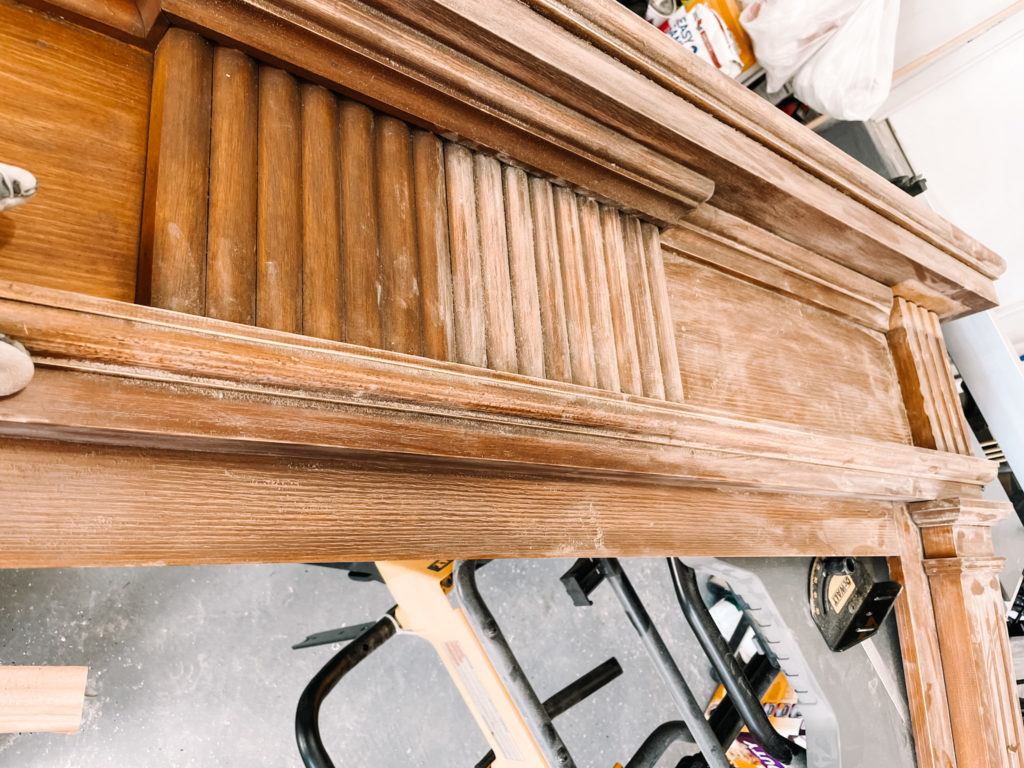
Unfortunately, one of the pieces was molding that ran along the entire width of the mantel and we couldn’t find trim like it ANYWHERE. After months of looking everywhere from hardware stores to lumber yards, we found something close enough and decided to replace it entirely.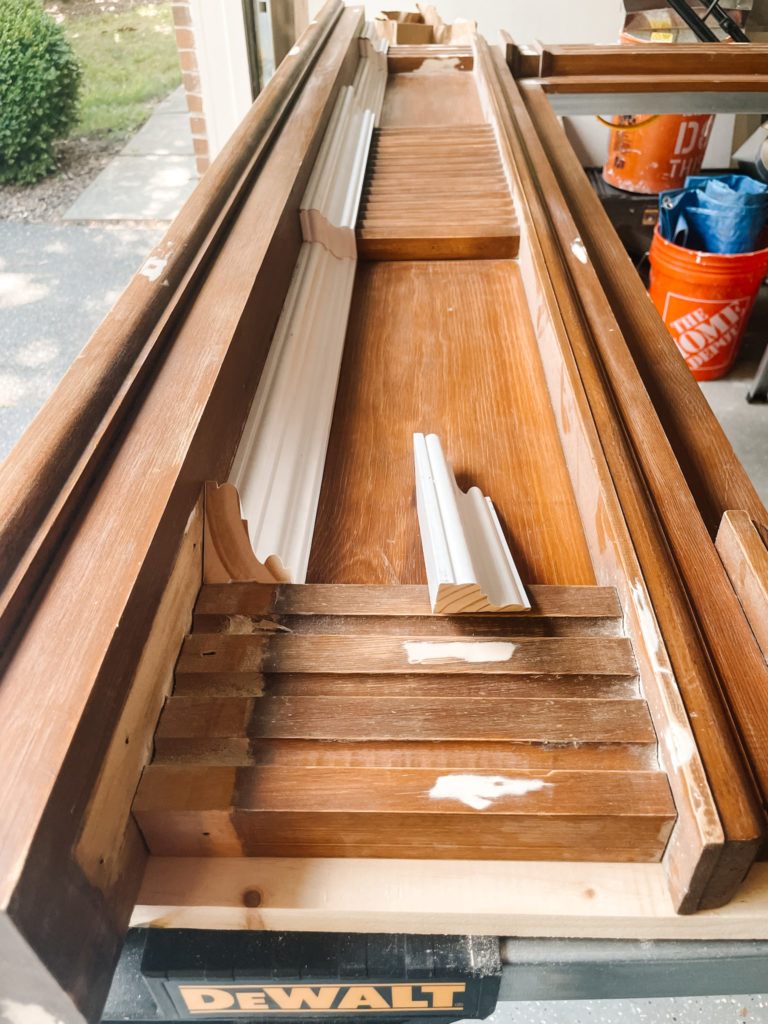
I cut it to size and reinstalled it where the old trim used to sit. Getting the angles correct was tricky, but I got there eventually. It turned out even better than we could have imagined and was definitely the right call.
Next, for some reason the top piece of the mantel had a giant whole cut out of the middle. It was very much intended but we have no idea why or what it was used for.
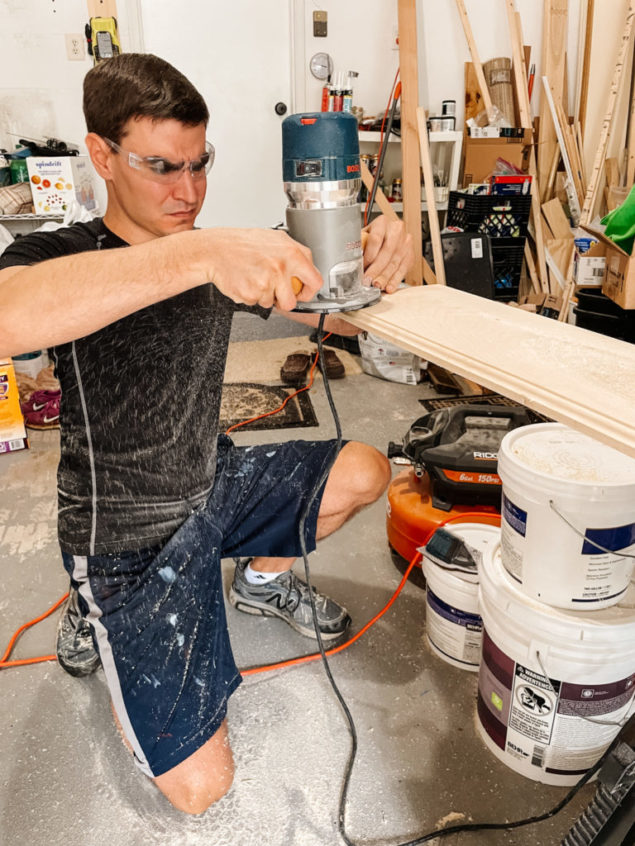
Kevin fixed the problem by cutting down a new piece to sit on top of the existing fireplace mantel antique and then used a router to create an edge that matched with the rest of the design. This was also a bonus because we were then able to make the top a bit larger to allow for décor options later on.
Our final fixes included adding a TON of wood putty, nails and an insane amount of sanding. Finally, we were ready to mount the newly improved fireplace mantel antique and add the finishing touches! Check out the reveal below!
Reveal Day!
The day finally arrived- Reveal day! We’ve come a long way from the flat 90’s mantel and giant soffit we had in this house a few months ago. We demo’d that mantel and built our new wall and then completely restored the fireplace mantel antique. Next, we had to install it onto the wall and add the additional trim needed to make this piece completely cohesive.
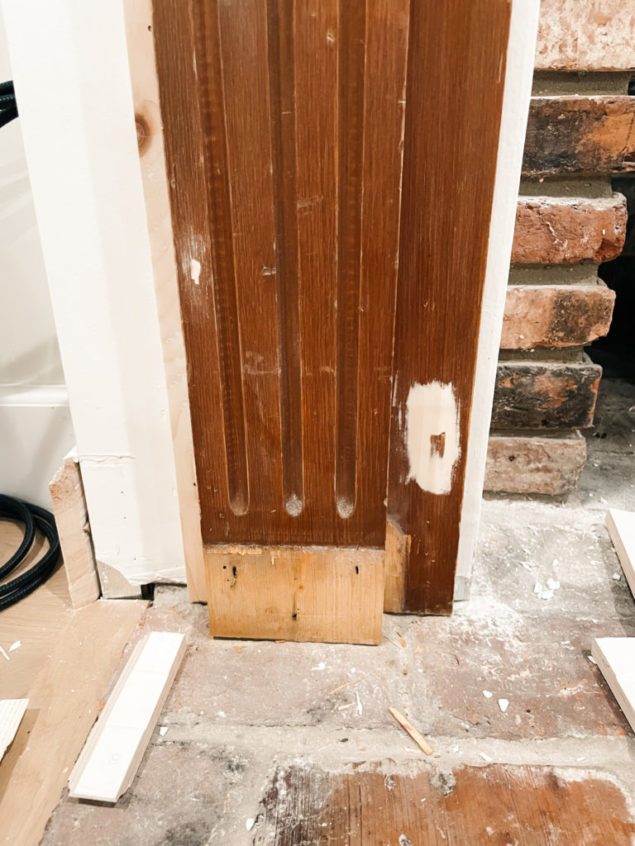
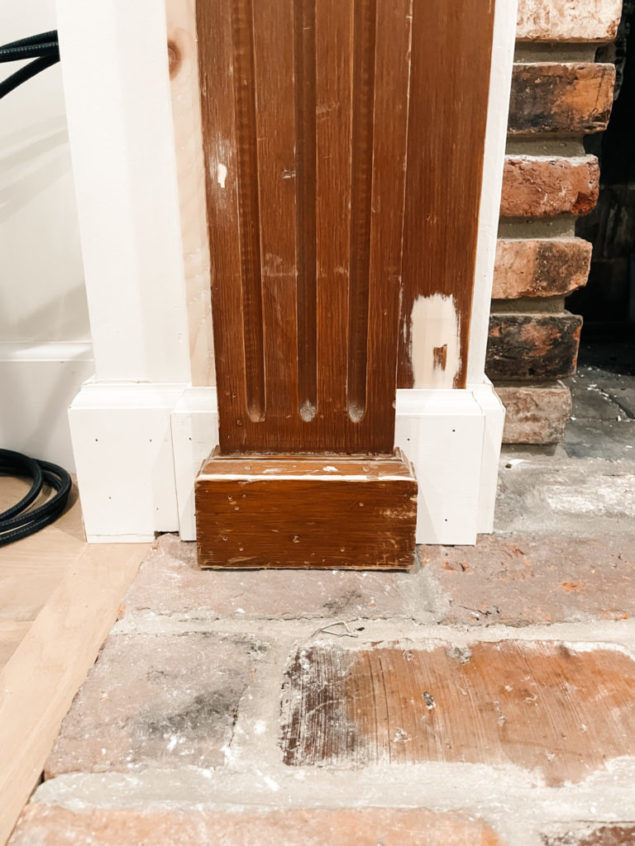
A last-minute decision we made was to take the existing base molding off to add more molding behind it and then re-add it back on. One thing we haven’t talked about during this restore is just how soft this wood is. Through this whole process we’ve had to be extremely careful to avoid scratches and dents. As I started prying off the molding they just started cracking in half. By the end, about half of the molding pieces had been broken. LUCKILY, I was able to glue the pieces back together and was very relieved we were going to paint everything at the end.
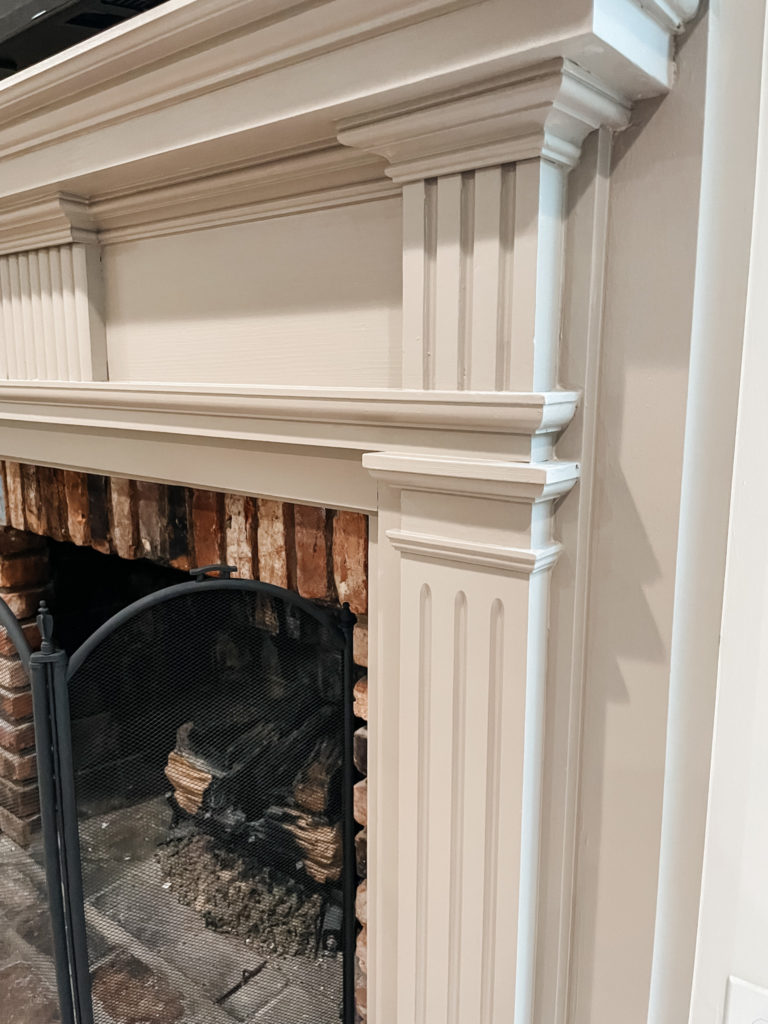
Wrapping the molding around the whole fireplace mantel antique was going to be so important to make this look like it was always one piece.
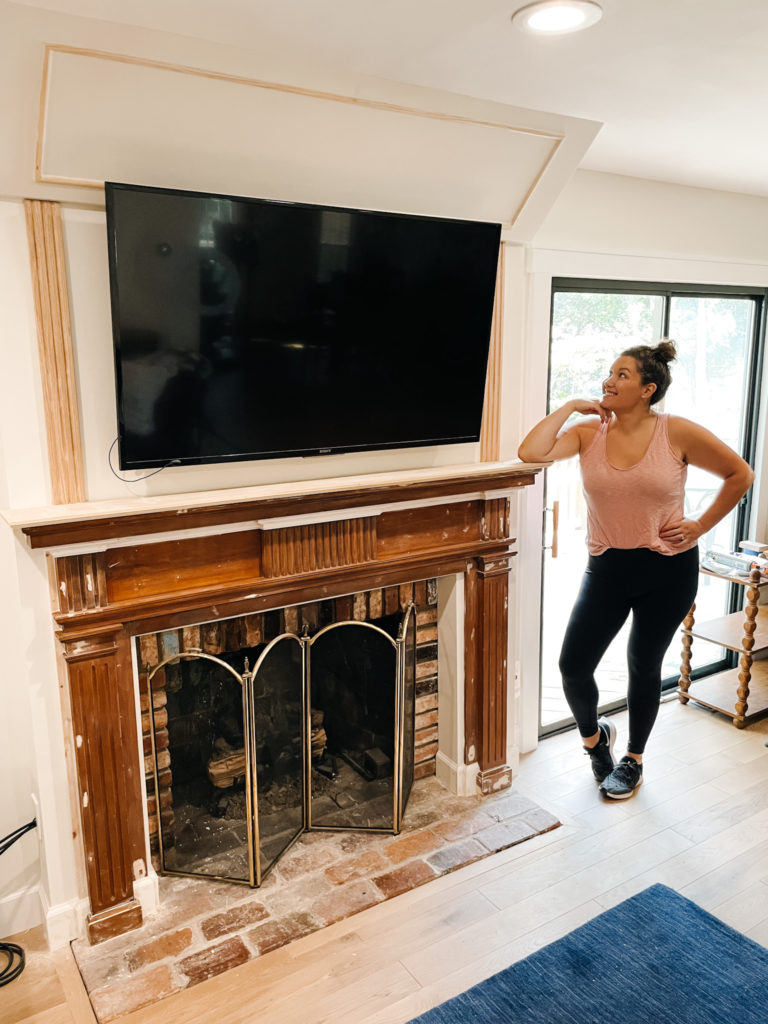
This also meant I had to make a few nerve-wracking cuts to the antique pieces so they sat perfectly with their new base molding friends.
The final adds included picture molding across the top and fluted paneling on the sides of the tv which mimicked the existing fluting in the fireplace mantel antique.
At this point, there were so many different woods, colors, glues and putty’s in this thing it was getting hard to see our vision through the chaos and it was driving Kevin CRAZY.
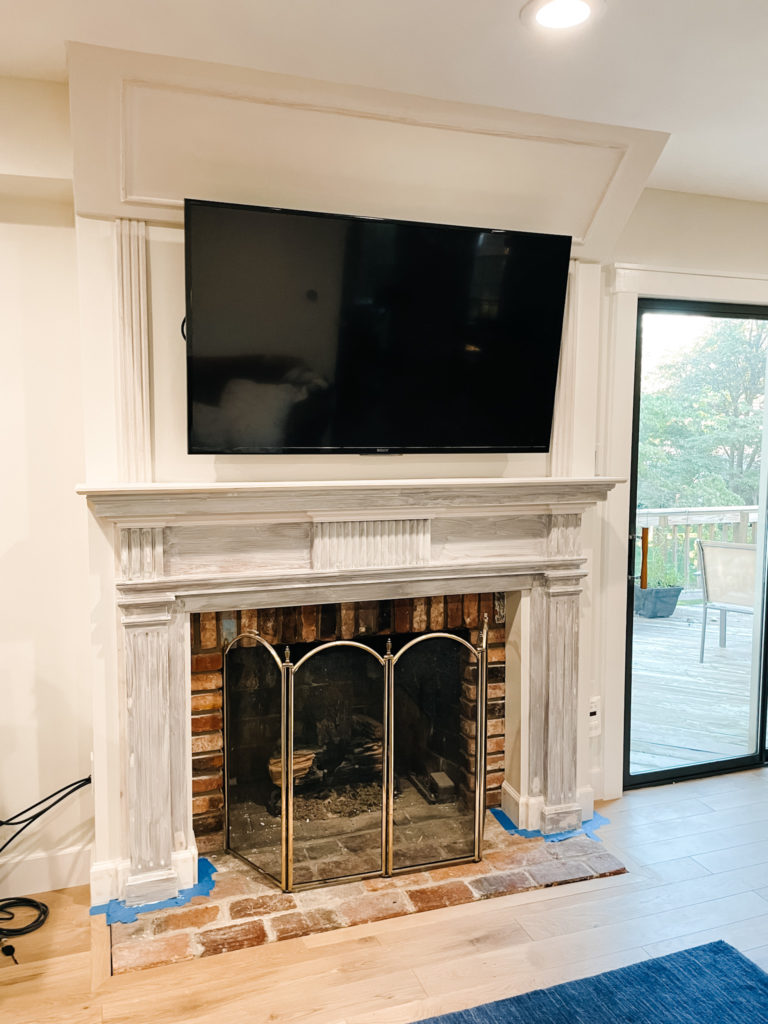
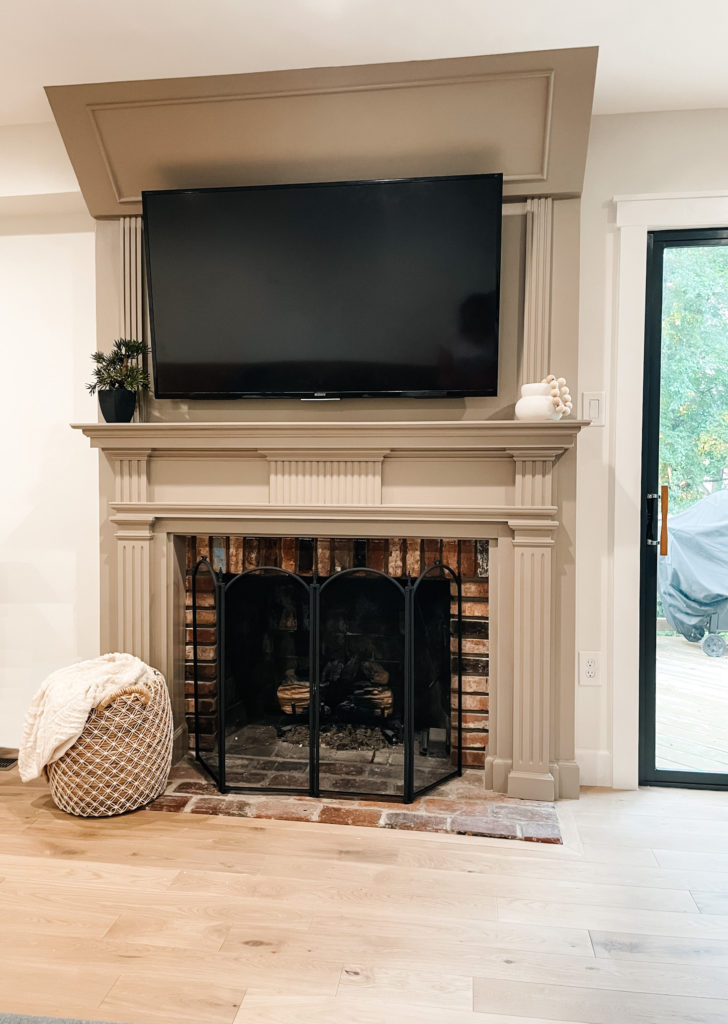
Finally, it was time for painting! The color we chose is Shitake by Behr. Once it was painted, we decided the gold from the existing screen was unfortunately just too much so I quickly spray painted it using heat resistant black paint. And there is the result:
The fully restored and updated fireplace mantel antique
We could not be happier or proud! It’s exactly as we’d hoped and envisioned. I can’t believe we actually pulled it off and now we can’t wait for the next project!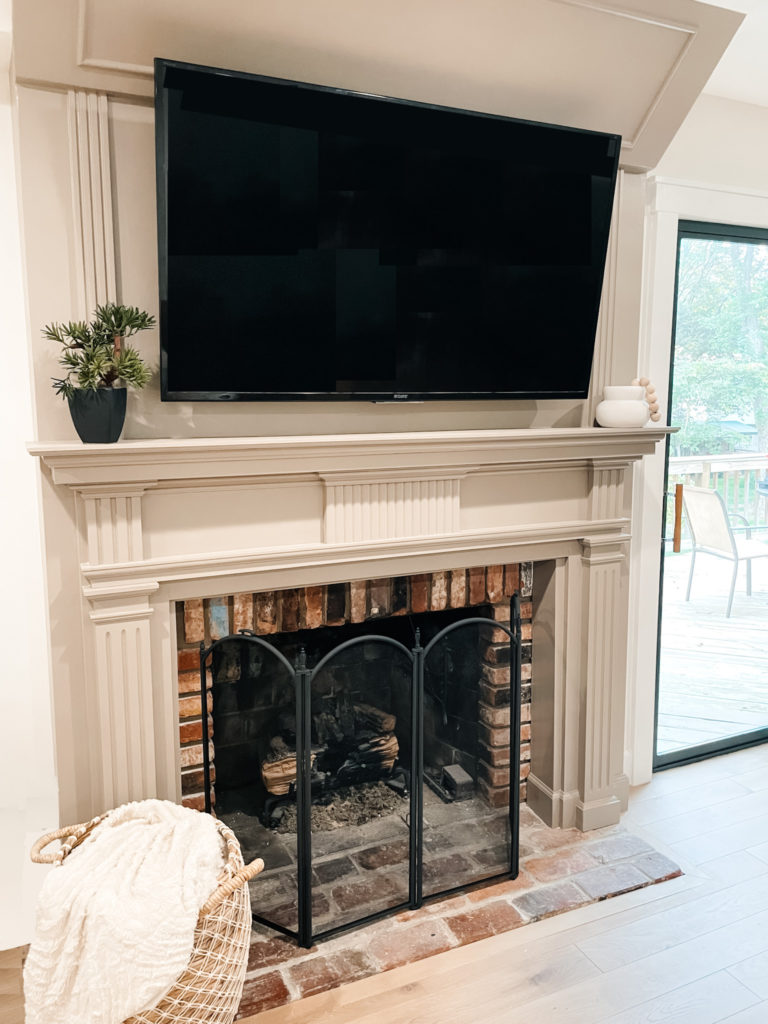






Leave a Reply