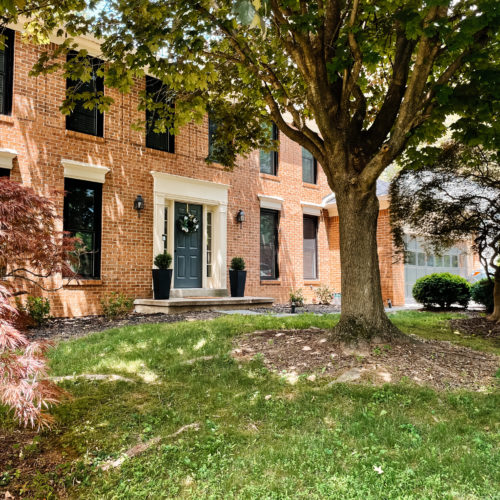
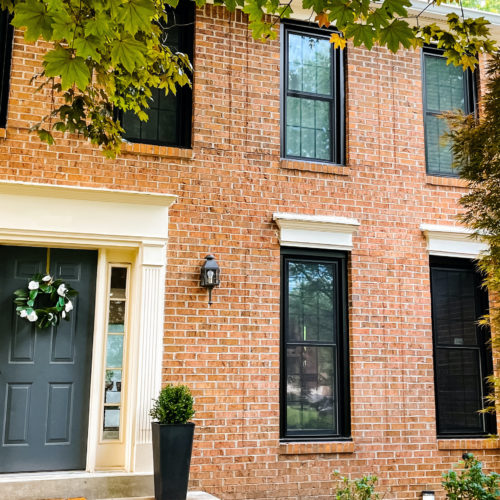
To say Kristen just wanted landscape lighting on this house would be a major understatement. I’m pretty sure it’s one of the first things she talked about once we bought our house. She claimed since our house has such a flat, regal front it was “basically begging to be done”. Without seeing it for myself, I was pretty indifferent, but she was excited for it. I knew it would look good, but I also knew no matter what we were getting up lighting. Lucky for me, it’s really easy to install landscape lighting.
First things first, we needed to decide what size light to buy. There are different sized lights, but didn’t really know how they would all look against the house. To test out we bought:
- 20 wattage
- 50 wattage
- 75 wattage
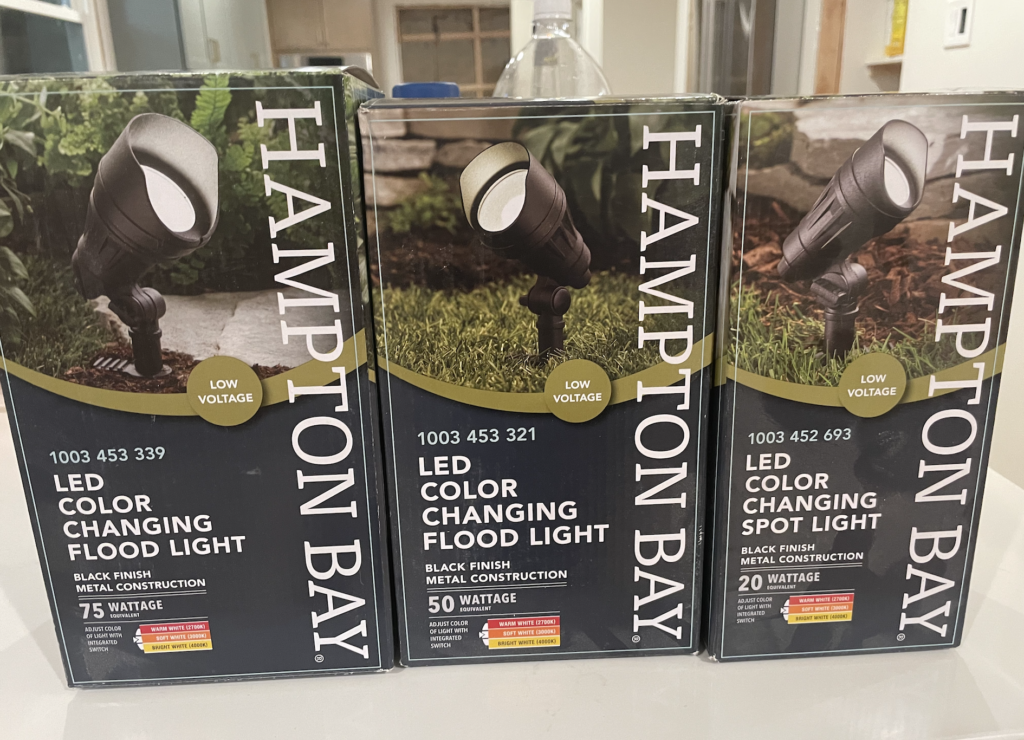
I think we were both really hoping we don’t like the 75-watt because that is really expensive.
We also needed to pick up:
- 14/2 Landscape Wire
- 60W Digital Transformer
Hooking up digital transformer
The transformer converts the high voltage from the house into a low voltage for the lights. So, the first thing we needed to do is attach landscape wire to the transformer. Using a wire stripper, I stripped the ends off of the wire, which is actually two different wires and wrapped it around the screws on the back of the transformer.
I finished it off by screwing the screws in to make sure the wires stay secure and then we plugged in the light to test it and make sure it works.
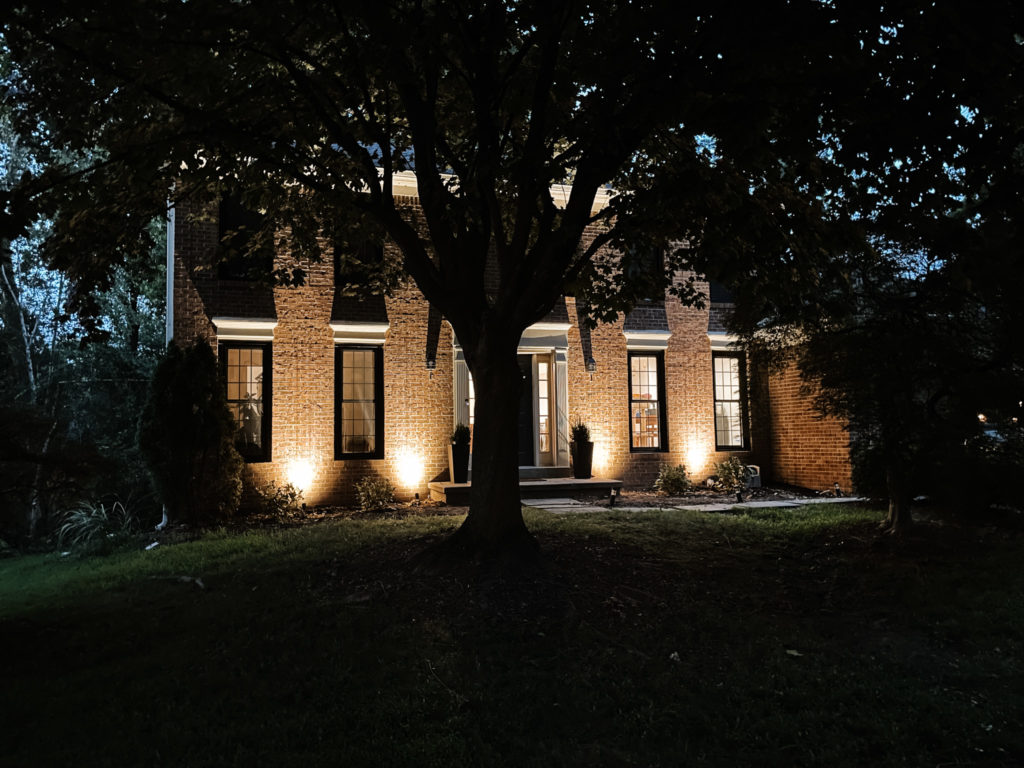
Once the lights were connected, we made our decision and ended up deciding to do four, 20-watt LED spotlights across the front of the house.
Now we actually install landscape lighting
On the day we actually installed the lights, we started by deciding where the lights were going to be placed along the house and then dug a six inch trench so that we could bury the wire under the garden bed.
Based on the lights’ locations, we decided to put the digital transformer directly below the electrical plug. The transformer needs to be mounted onto the wall and the process is simple enough. 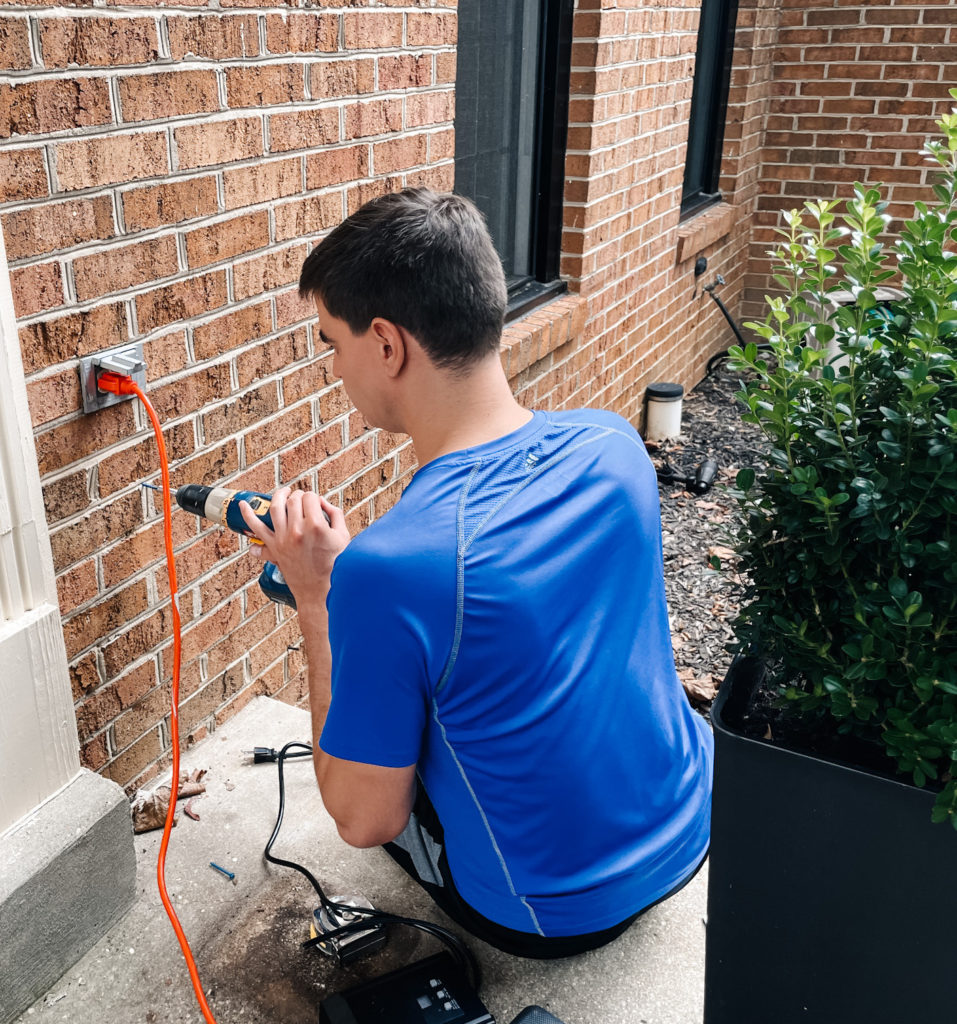 It’s two screws that the transformer box sits on. However, we have a brick front which complicates things a bit. The easiest way to tackle this is to drill your holes into the mortar. It is much easier to plug a mortar hole than to fix chipped brick.
Since we were putting lights on both sides of the door, I needed to run two wires from the transformer. The transformer only had enough room for one connection so in order to do this, I used a low-voltage splice connector to run two separate wires to the lights.
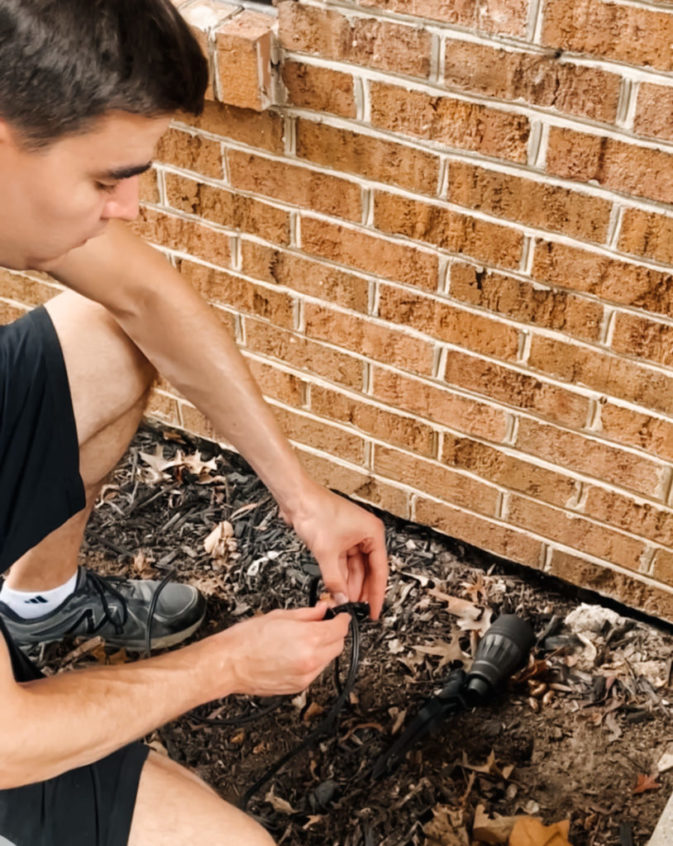
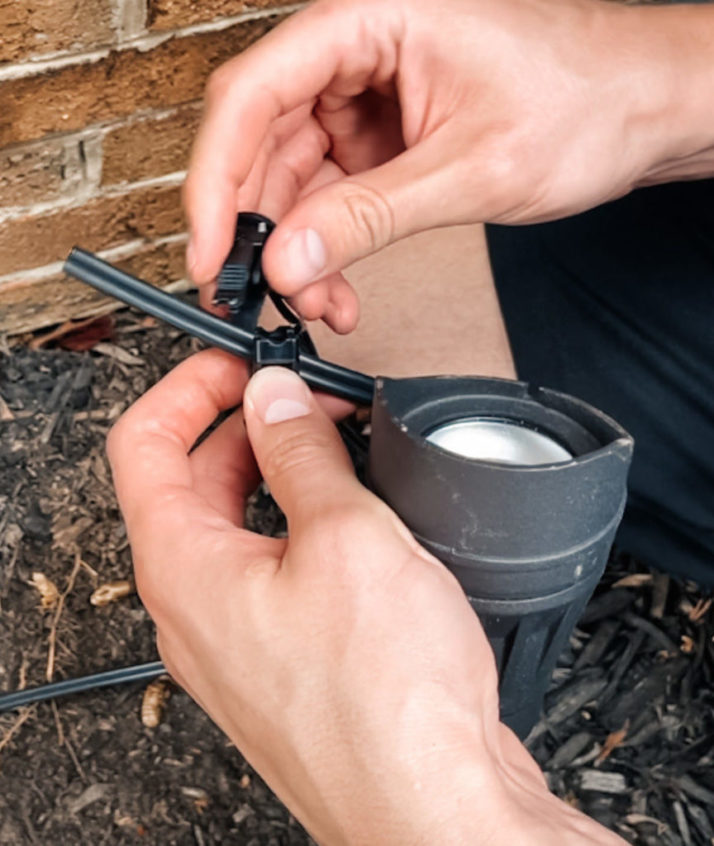
Actually, connecting all of the lights could not be simpler. With the wires run, all you have to do is clamp the connector clip onto the wire. The clamp sends a needle into the wire, allowing for electricity to flow to the second wire.
Finally, the we finished install by refilling the trenches and adding mulch on top just to make everything look complete.
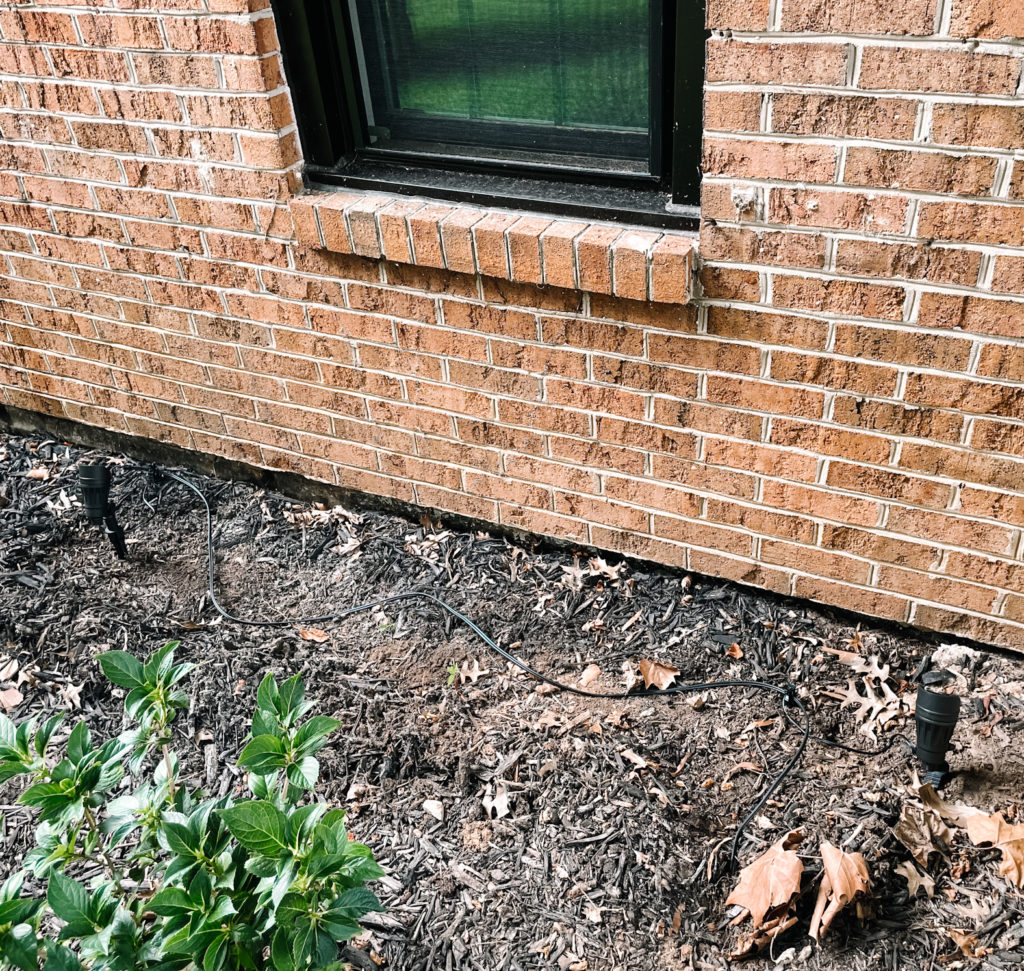
I’ll admit, I wasn’t in a rush to install landscape lighting, but it looks great now that it’s done!


Leave a Reply